[Map] → [Managing Map Data]
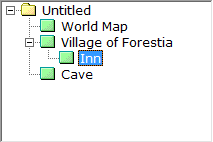
·Map data can be nested by dragging and dropping the list options over each other. When a map has “child maps” (nested map data), all of them will be moved at the same time.
1.Move the cursor over the map data to be moved and begin dragging.
2.Move the cursor over the destination map data or project option, and drop when the option text is highlighted.
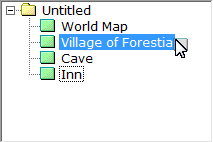
3.The map data will be moved to a level nested under the option it is dropped on.
·Right clicking on a map data from the list will display a shortcut menu for commands related to that map. The commands are as follows:
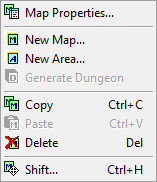
Map Properties |
Opens the [Map Properties] window for editing map data information. *Refer to “Map Properties” |
New Map |
Creates a new child map nested under the right-clicked map. *Refer to “Creating map data” |
New Area |
Options for “area” settings. *Refer to “Area” |
Generate Dungeon |
If the current map was drawn using the “Generate Dungeon” function, use this function to recreate it using the same specifications. |
Copy |
Copies the entire map data onto the clipboard. |
Paste |
Inserts the copied map data into the list, nested under the right-clicked map data. |
Delete |
Deletes the map data. |
Shift |
Displaces the entire map. |
·The Shift command moves everything in the map. When the option is selected, the “Map shift” window will be displayed. Choose the direction to shift in (Up/Down/Left/Right) under [Shift Direction] and number of tiles to shift under [Tile Count], and click the [OK] button. Parts of the map that are shifted outside of the map dimensions will be wrapped around to the other side.
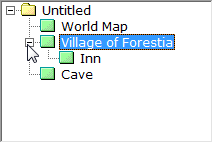
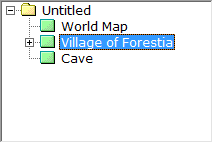
·Map data with child maps will have a [+] symbol next to their name. When clicked, the symbol will change to [-] and show the map data nested directly under it. Clicking it again will change the symbol back to [+] and hide the nested map data.
